
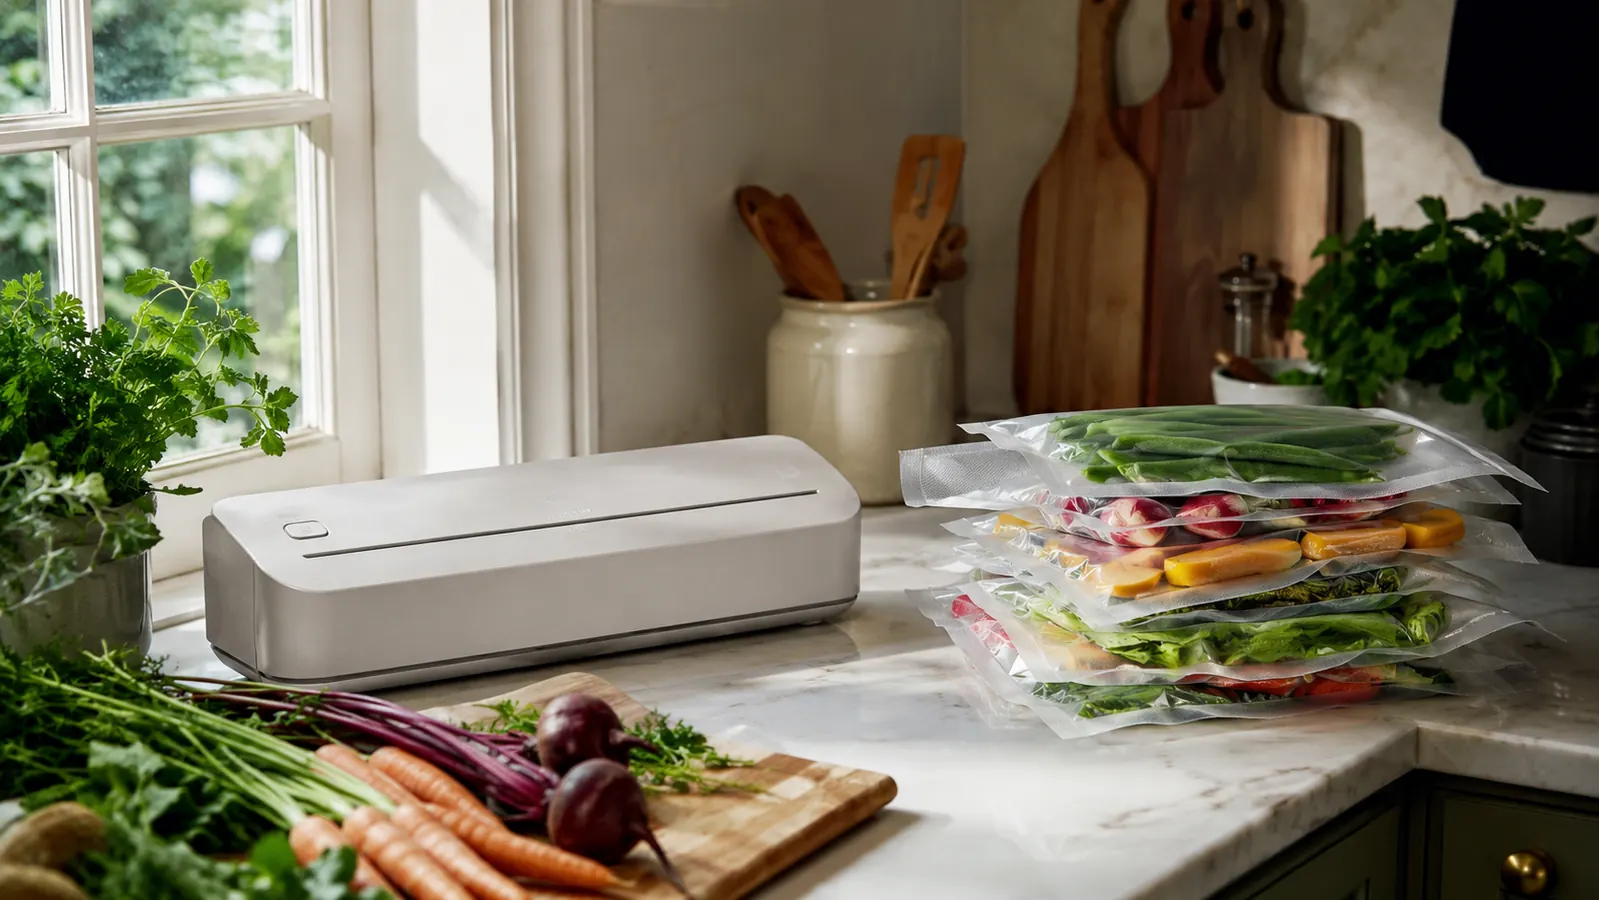
I almost returned my FoodSaver Compact in the first week. Not because it didn't work, but because I sealed a bag of chicken thighs sitting in their own marinade and watched that liquid get sucked straight up the tube into the machine before I could hit cancel. Nobody at the store mentioned that could happen. Eight months later, that same machine sits on my counter more often than it sits in the cabinet, and I've made peace with the learning curve, but I'm not going to pretend the box tells you the whole story.
This is the review I wish I'd read before I bought one. Not the glowing five-star version, and not the one-star rant from someone who used it twice and gave up. Just what actually happens when you run this thing week after week on real groceries, garden vegetables, and the occasional batch of soup you're trying to get out of the fridge before it turns.
The Quick Verdict
A genuinely useful machine once you learn its quirks, but the bag costs and the liquid sensitivity are real tradeoffs nobody warns you about upfront.
Amazon Check Today's Price →Still deciding if a vacuum sealer earns counter space in your kitchen?
See the current price and what's included with the FoodSaver Compact bundle before you make up your mind.
Amazon Check Today's Price on Amazon →How I've Really Used It
I didn't buy this to seal steaks for sous vide, even though that's how it's marketed. I bought it because my chest freezer in the garage had turned into a graveyard of frost-covered ground beef and mystery vegetables I couldn't identify through the ice crystals. My plan was simple: buy meat in bulk when it's on sale, portion it out the day I get home, seal it flat, and stop throwing away food that got freezer burn before we could use it.
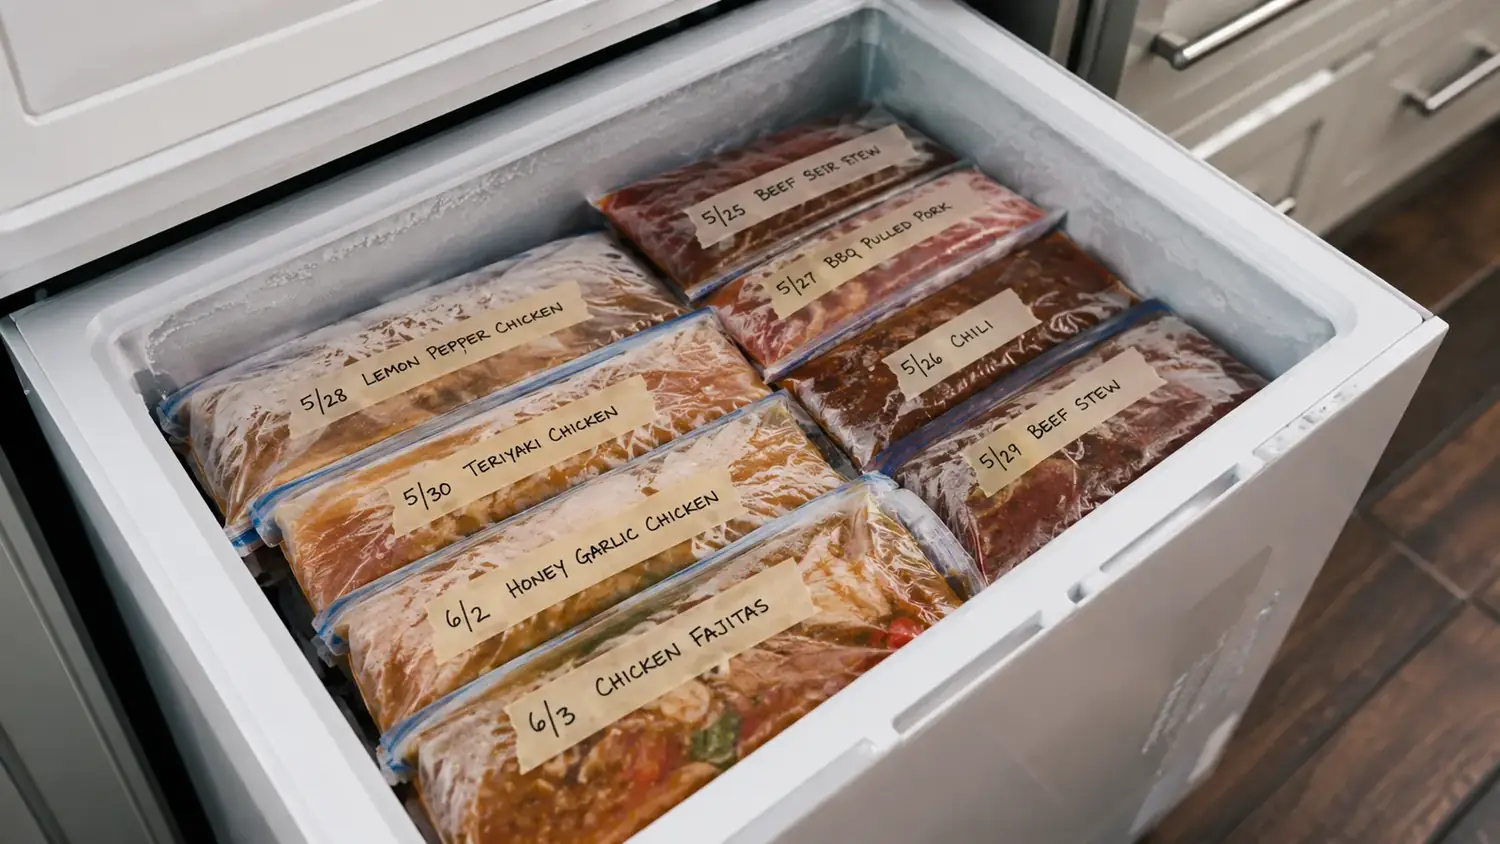
That part has genuinely worked. I portion ground beef into one-pound flat packets, chicken breasts two to a bag, and whatever's left of a rotisserie chicken into a bag for soup stock later. Flat, vacuum-sealed bags stack like books instead of rolling around like the lumpy freezer bags I used to buy at the grocery store. I can actually see what's in the freezer now instead of digging through a frozen avalanche looking for the pork chops I know are in there somewhere.
What surprised me is how much I've used it outside the freezer entirely. Coffee beans stay noticeably fresher sealed than in their bag with a clip. I sealed a half bag of flour after a pantry moth scare and haven't had a repeat problem since. It's become less of a 'meat prep' machine and more of a general kitchen tool, which isn't what I expected when I unboxed it.
The other habit that's changed is how I shop. I used to buy meat a few days at a time because bulk packs felt like a gamble against freezer burn. Now when ground beef or chicken thighs go on sale, I buy enough for a month, come home, and spend twenty minutes portioning everything into meal-sized bags before it goes anywhere near the freezer. That single change has probably saved us more at the grocery store than the machine itself cost, just from not paying full price on meat week to week.
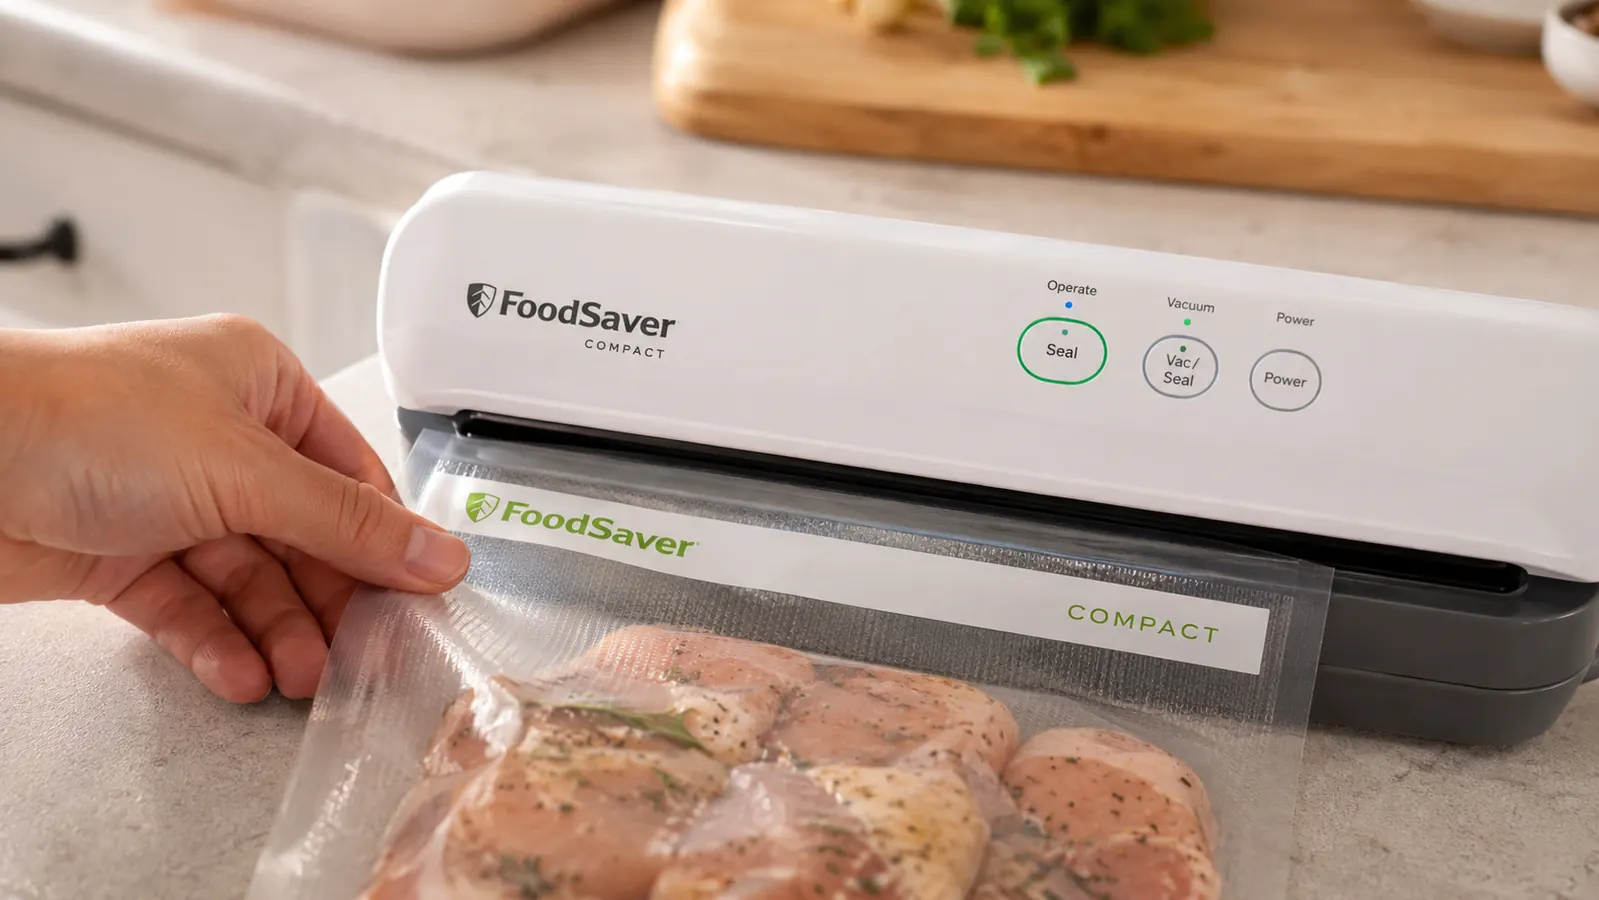
The Liquid Problem Nobody Warns You About
Here's the thing the marketing photos don't show you: any bag with visible liquid in it, marinade, broth, a juicy cut of meat, is a gamble. The vacuum pulls air out fast, and if there's liquid sitting loose in the bag, it gets pulled up toward the sealing strip right along with the air. I've had liquid make it all the way into the machine's internal chamber twice, and both times I had to towel it out and let the unit air dry overnight before it would seal properly again.
The fix, which I learned the hard way, is to freeze anything liquid-heavy for an hour or two first, just enough to firm it up, before sealing it. For marinated meat, I now do a quick freeze on a sheet pan for 30 to 40 minutes so the surface sets before it goes anywhere near the machine. It works, but it adds a step that nobody mentions when they're showing you a satisfying two-second demo video of a bag shrinking down around a steak.
There's also a moist-food setting on the control panel, and it does help, it seals slower and gives the machine more time to catch liquid before it travels too far. But it's not foolproof. If you're picturing yourself sealing soup or broth straight into bags for the freezer, temper that expectation. I stick soup in rigid containers instead and save the vacuum bags for things that stay mostly solid.
I've also learned to angle the open end of the bag slightly upward and clip it to the counter edge with a binder clip while I load it, so gravity works in my favor instead of against me. It sounds fussy, and it is, but it's cut my liquid mishaps down to almost zero since I started doing it. None of this was in the included instruction booklet. I picked it up from a cooking forum after my second cleanup.
The Bag Math They Don't Put on the Box
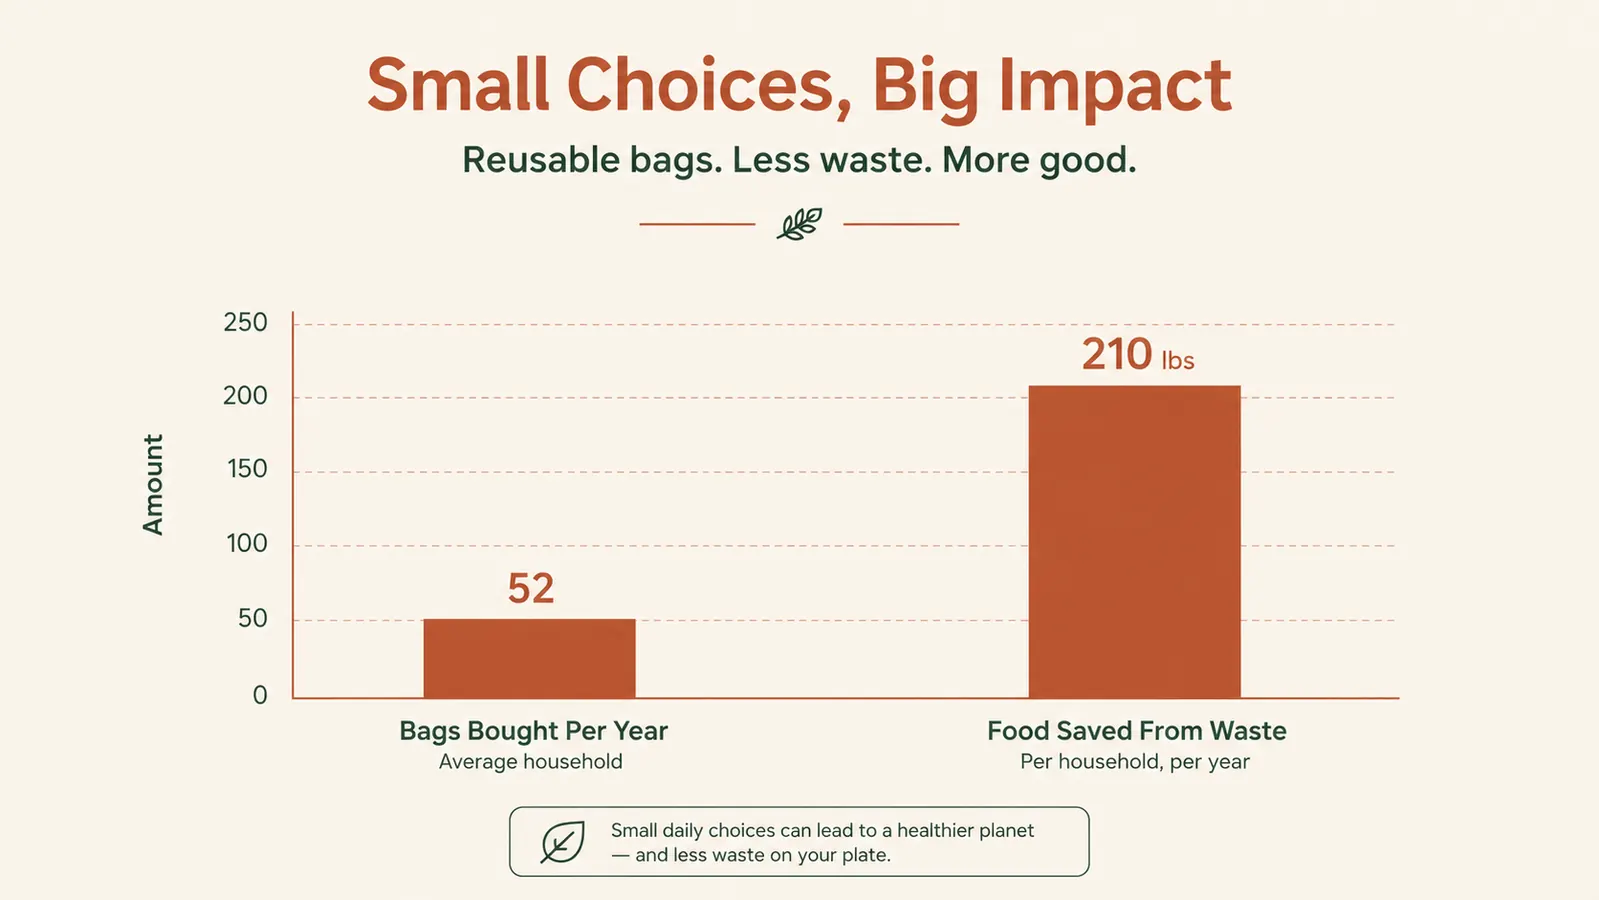
The machine itself isn't the ongoing expense, the bags are. This model comes with a starter roll and a handful of pre-cut bags, which sounds generous until you realize how fast you go through them once you actually start using the machine regularly. I portion meat in batches most weekends, and between that and pantry items, I'm cutting bags off the roll multiple times a week.
I started tracking it out of curiosity, and over about six months I went through roughly four rolls plus two boxes of quart-size pre-cut bags. That's a real, recurring cost that doesn't show up anywhere in the reviews that just talk about how well the seal holds. If you're buying meat in small quantities and don't plan to seal much beyond a few items a month, the bag cost is a non-issue. If you're doing what I do, bulk buying and batch portioning every week, budget for it.
One thing that did save me money over time: you can reuse a bag if you cut the sealed edge off and it's still long enough, which I do for dry goods like rice or pasta. You can't do that with anything that held raw meat, obviously, but for pantry items it stretches the roll further than I expected going in.
I've also started buying generic off-brand rolls that fit the machine instead of the name-brand FoodSaver bags, and honestly, the seal quality is close enough that I can't tell the difference in the freezer six months later. That single switch cut my ongoing bag spending by close to half. It's the kind of thing you only figure out after you've already gone through a few boxes of the pricier bags and started paying closer attention to what you're spending on consumables versus what you spent on the machine itself.
What Actually Held Up After Eight Months
The motor is the part I was most skeptical about, given how compact and light this unit feels compared to some of the older, heavier vacuum sealers I've seen at estate sales. After eight months of what I'd call moderate-to-heavy use, two to four bags most weekends plus occasional weekday use, the seal quality hasn't dropped off. Bags from month one look and hold the same as bags I sealed last week.
Where I did run into a real limitation is consecutive use. If I try to seal more than five or six bags back to back, the machine gets noticeably warm and the manual actually tells you to let it rest for about 20 minutes after heavy runs. I ignored that once during a big freezer-stocking session and the machine did shut itself down mid-seal to cool off, which cost me more time than if I'd just paced myself from the start.
The removable drip tray has held up fine and pops out easily for rinsing, which matters more than I expected given how often liquid ends up near it. The only physical wear I've noticed is some scuffing on the top where I set hot pans down without thinking, which is on me, not the machine.
Where It Struggles
Beyond the liquid issue, the biggest tradeoff is counter space and setup time. This isn't a machine I leave plugged in and ready to go. I store it in a lower cabinet and pull it out when I need it, which means there's always a small tax of getting it out, plugging it in, and putting it away when I'm done. On a night when I just want to portion two chicken breasts and move on with dinner, that setup cost feels bigger than it should.
The bag width is fixed to what the roll gives you, and for anything oddly shaped, a whole rack of ribs, a large fish fillet, you're either folding the bag awkwardly or buying the larger pre-cut bags separately. I've had a few seals fail on bags with bone poking through a corner, which meant re-cutting and re-sealing, more waste on top of the bag cost I already mentioned.
Noise is a small thing but worth mentioning too. The motor isn't loud exactly, but it's not quiet either, more of a steady mechanical hum that runs for the full ten to fifteen seconds of a seal cycle. If you're portioning a dozen bags at nine at night while everyone else in the house is trying to sleep, you'll hear about it in the morning. I've learned to do my big sealing sessions earlier in the day.
The Alternative I Actually Considered
Before buying this one, I looked hard at a NutriChef handheld vacuum sealer a neighbor had, the kind that uses a separate handheld pump with zip-style bags instead of a full countertop unit. It's cheaper up front and takes up almost no storage space. But after trying hers a few times, the seal wasn't as airtight, and I noticed freezer burn creeping back in on food sealed with it within a few weeks, which defeated the whole purpose for me.
If your goal is mainly keeping snacks fresh in the pantry or doing light, occasional sealing, a handheld option might genuinely be enough and it's a fair amount cheaper. But if freezer burn on meat is the actual problem you're solving, like it was for me, the stronger, more consistent vacuum on a full countertop unit is worth the extra counter space it asks for.
I also briefly considered just skipping a machine altogether and using the water displacement trick with regular zip-top bags, pushing air out by lowering a sealed bag into a sink of water. It works in a pinch and costs nothing extra, but it's slow, messy, and nowhere near airtight enough for anything I planned to freeze for more than a few weeks. For quick pantry storage it's fine. For real freezer protection, it wasn't close to a real substitute.
What I Liked
- Flat sealed bags stack and stay organized in the freezer far better than loose freezer bags
- Seal quality hasn't degraded after eight months of regular weekend use
- Genuinely stops freezer burn on meat portioned and sealed promptly
- Works well beyond meat, coffee, flour, and pantry staples all stay fresher
- Drip tray is removable and easy to clean
Where It Falls Short
- Liquid-heavy foods need pre-freezing first or you risk liquid getting into the machine
- Bag costs add up fast with regular use and aren't included long-term
- Needs a rest period after five or six consecutive seals or it shuts down to cool
- Fixed bag width struggles with oddly shaped or bony cuts
- Requires storage and setup time since it's not a leave-it-out appliance for most kitchens
The seal quality never let me down. What let me down was assuming I could seal anything the same way, straight out of the marinade, without a second thought.
Who This Is For
If you buy meat in bulk when it's on sale, grow a garden and freeze the extra, or just hate the way freezer bags roll around and get lost, this machine solves a real, ongoing problem. It's also a solid fit if you meal prep on weekends and want portions ready to grab without digging through a frozen pile. The learning curve is short once you know to pre-freeze anything wet.
Who Should Skip It
If you cook for one or two people and rarely buy more meat than you'll use that week, the bag cost and counter space probably aren't worth it for you. Same goes if most of what you'd seal is soups, sauces, or marinated dishes, the liquid limitation will frustrate you more than it helps. A handheld sealer or just better freezer bags might genuinely serve you better.
Ready to stop losing groceries to freezer burn?
Get the full picture, current price, bundle contents, and what's included, before you decide.
Amazon Check Today's Price on Amazon →